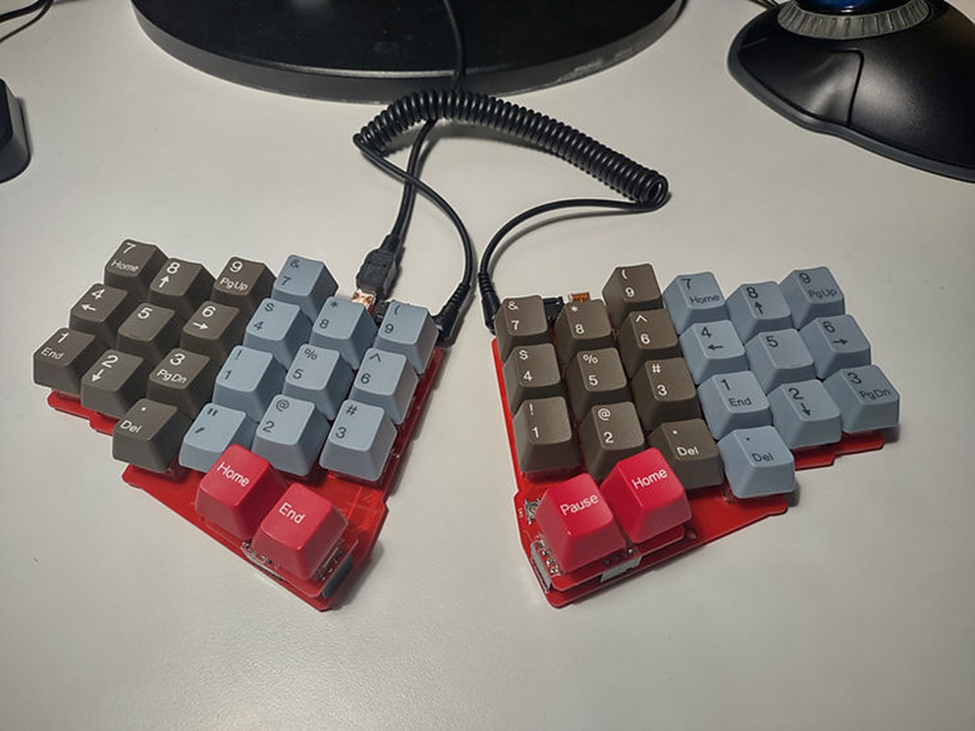
In this post I will quickly go through the major design milestones which lead to the current ThumbsUp! keyboard design.
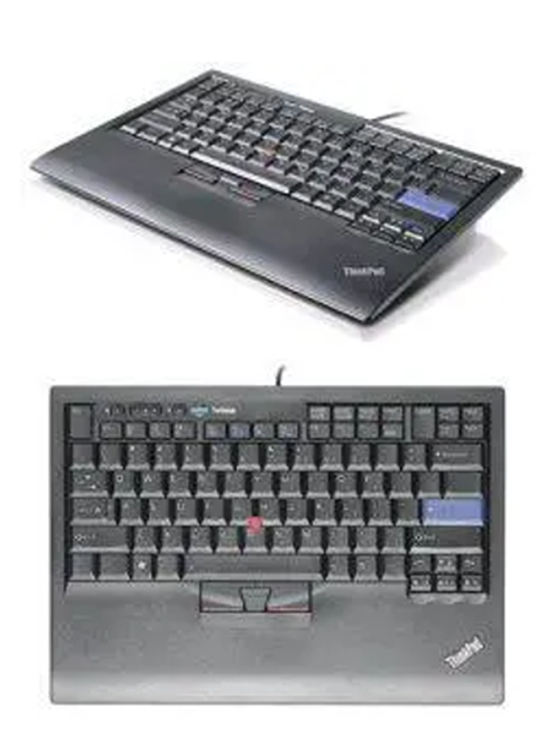
For years I used ThinkPad laptops and external ThinkPad Travel keyboards like the one below. I even used them together, i.e. as a split keyboard. The laptop was on the right and the external keyboard on the left, with a display between then. So my left hand used the left side of the external board, and the right one - the right side of the laptop. A bit excessive, but otherwise quite comfortable, especially with the original version of Travel keyboard, with its trackpad and trackpoint, so either hand could use the mouse navigation.
There were
some issues with the cursor control, and I rather refer to my article on All Things Ergo for
details. So I started to look for other options.
There was
some generic mechanical 60% keyboard, a Mistel Barocco, a Ergodox EZ, and an
Ergodox Infinity (the group buy arrived somewhere in between of other boards,
so it does not really count.) None fit the bill completely, yet they opened
this rabbit hole for me.
Then I
learned about Plank keyboard with its programmability. Unfortunately it was not
readily available, so I started with a 3D-printed split version of it with a great help from the Internet:
The cable was not detachable, but otherwise it was quite comfortable. I learned how to use QMK for custom layouts.
Let's Split
with Tsukaworks' 3D-printed
case was even better, the cable connecting the halves could be replaced, so it
was much better:
Then I
learned about Dactyl-Manuform, and got
a 3D printer to build one (as the local library did not allow the time required
to make them):
I played
with the layout, changed the column and row offsets and angles, at least a half
of a dozen of them. The blue one in the picture above served me for quite some
time as the primary work tool.
Despite all
that I had not mastered Closure enough to make real changes to DM, so instead I
started with Fusion 360 and simpler boards. Here is the Crocodox, its very
first make:
The main
key area was ok. The thumb cluster was too far away, so it caused some
strain when I used Lower+Backspace (see my current layout diagram) for Del key.
In the next
iteration I changed the thumb cluster angle. A bit better, but still too far.
So the innermost keys on the cluster were out of comfortable reach.
I even
added a carrying case that also served as a tilt platform, I am quite proud of
that idea:
The next
iteration brought the thumb cluster much closer. Also I discovered the
innermost column caused some noticeable strain in my palms, in the area of the
index finger base. I found that moving that column up reduced if not completely
eliminated that strain:
By that
time I got deeper into the Dactyl-Manuform's source code. I started
experimenting with the board tilting and tenting. Below are a few examples:
These round
key caps are wonderful! I used them for almost all of my MX-based boards:
I even
considered it to be my endgame, that did not live long though:
I started
playing with the DM source code, removed two of the thumb cluster keys, they
were not really used anyway:
In between
of DM designs I made a steno board, trying to replicate the keys of a
mechanical Stenograph machine. The thumb keys were placed lower than the main
block, exactly as in Stenograph. While it was interested, I learned that
lowered thumb keys were extremely uncomfortable to use, so I never use such a
layout anymore.
I polished
my DM version further, removed two more thumb keys, and lifted and rotated the
remaining two. It was much closer to the ideal layout:
I tried to
replace this layout on a flat surface. It turned out to be pretty neat, slim
and handy. The only complaint was the hands were pronated a bit more than with
DMs, but it was a good start:
One final
improvement for my DM, the pinkie columns were moved up (farther away), it was
a step in the right direction. From top the rows looked more like W than a
smooth arc in the original DM.
So those
two boards had been used for quite a while, until I noticed a discomfort that
turned into pain in the index finger joints. The sharp tenting angle the innermost
columns pushed the index fingers sideways as if trying to bend them in an
unnatural direction.
The rest of
the orange board was good, so I tried to put all the keys on horizontal plane
keeping the layout close if not the same as in that orange DM:
It was
surprisingly comfortable. A minor issue with the key caps catching the bag
lining was resolved by adding the borders (looking like crenelated battlements)
around them:
Printing it
with fuzzy skin produced even better results, so it became my daily driver for
some time:
I kept
playing with an idea of flattening the board to be used with a laptop. The keys
layout was the same:
Then there
were variations with a primary goal to simplify the build:
I
tried other switch types, like this one Fish Ladder that accepted both Kailh
Choc and MX-compatibles:
While using
those boards with the laptops (mounted on a platform over the laptop keyboard) I
found that most of the time the boards were in approximate the same position,
so I decided to make a unibody version, saving the MCUs and eliminating the
cable. The first version got something about 30 degrees between the halves,
that was a bit too close:
So I
doubled the angle to 60 degrees, and that was too much:
Angle was
reduced to 44 degrees and that hit the sweet spot. Also I raised the thumb keys
a bit, and that was another improvement, even with such a modest lift:
And from
here I realized it would be possible to replicate this design with PCBs.
It took a
few iteration with the board design (due to screwed up wiring) I got a board
that worked with MX, ALPS and Kailh Choc switches:
It worked,
but still got some mistakes in the wiring (e.g. the reset button turned out on
a wrong side in one of the halves), but otherwise that lead the way for the
next version.
I wanted to
lift the index finger keys one level up, and the thumb cluster one more level
up. That would make three PCBs, so I figured a unibody keyboard would be
cheaper to produce. Also I got a batch of the TTC KS32 switches by mistake
(confused them with Kailh Choc switches, I learned other people made the same
mistake, so no shame in it,) so I made the board that would use MX, ALPS, Kailh
Choc and TTC switches. No hot-swaps though. They worked really well.
Here are
they in the background with the predecessors in front:
I use the
board with spring-swapped Matias switches since February 2022, added a touchpad
to it.
That board
gave me some ideas how to improve the raiser/connector layout, and I realized
that the middle and the ring fingers keys in the bottom row had to be relocated
to the second level. Due to the shortage of MCUs I designed three versions to
cover all available options (ProMicro in a socket, Atmega32U4 soldered on the
board by me, and RP2040 assembled at the factory.) Again, surprisingly all
three of then worked pretty well, including a wireless build with nice!nano
instead of ProMicro. Results are being sold on this site.
You may
find more details, including the STL files and Fusion 360 links at Thingiverse.
... That was the history up mid-2022, when I started making different versions of ThumbsUp! keyboard, v2, v3, and so on.
To be continued.


Comments
Post a Comment