
How to make a ThumbsUp! keyboard wireless

ThumbsUp! keyboards can be made wireless. 

Not all of them, but those driven by ProMicro controller.
There are multiple options, so far I only used one of them, the nice!nano v2 with ZMK-based firmware.

Nice!nano is a drop-in replacement for AtMega32U4-based ProMicro units.
It got a compatible pinout and is quite simple to use.

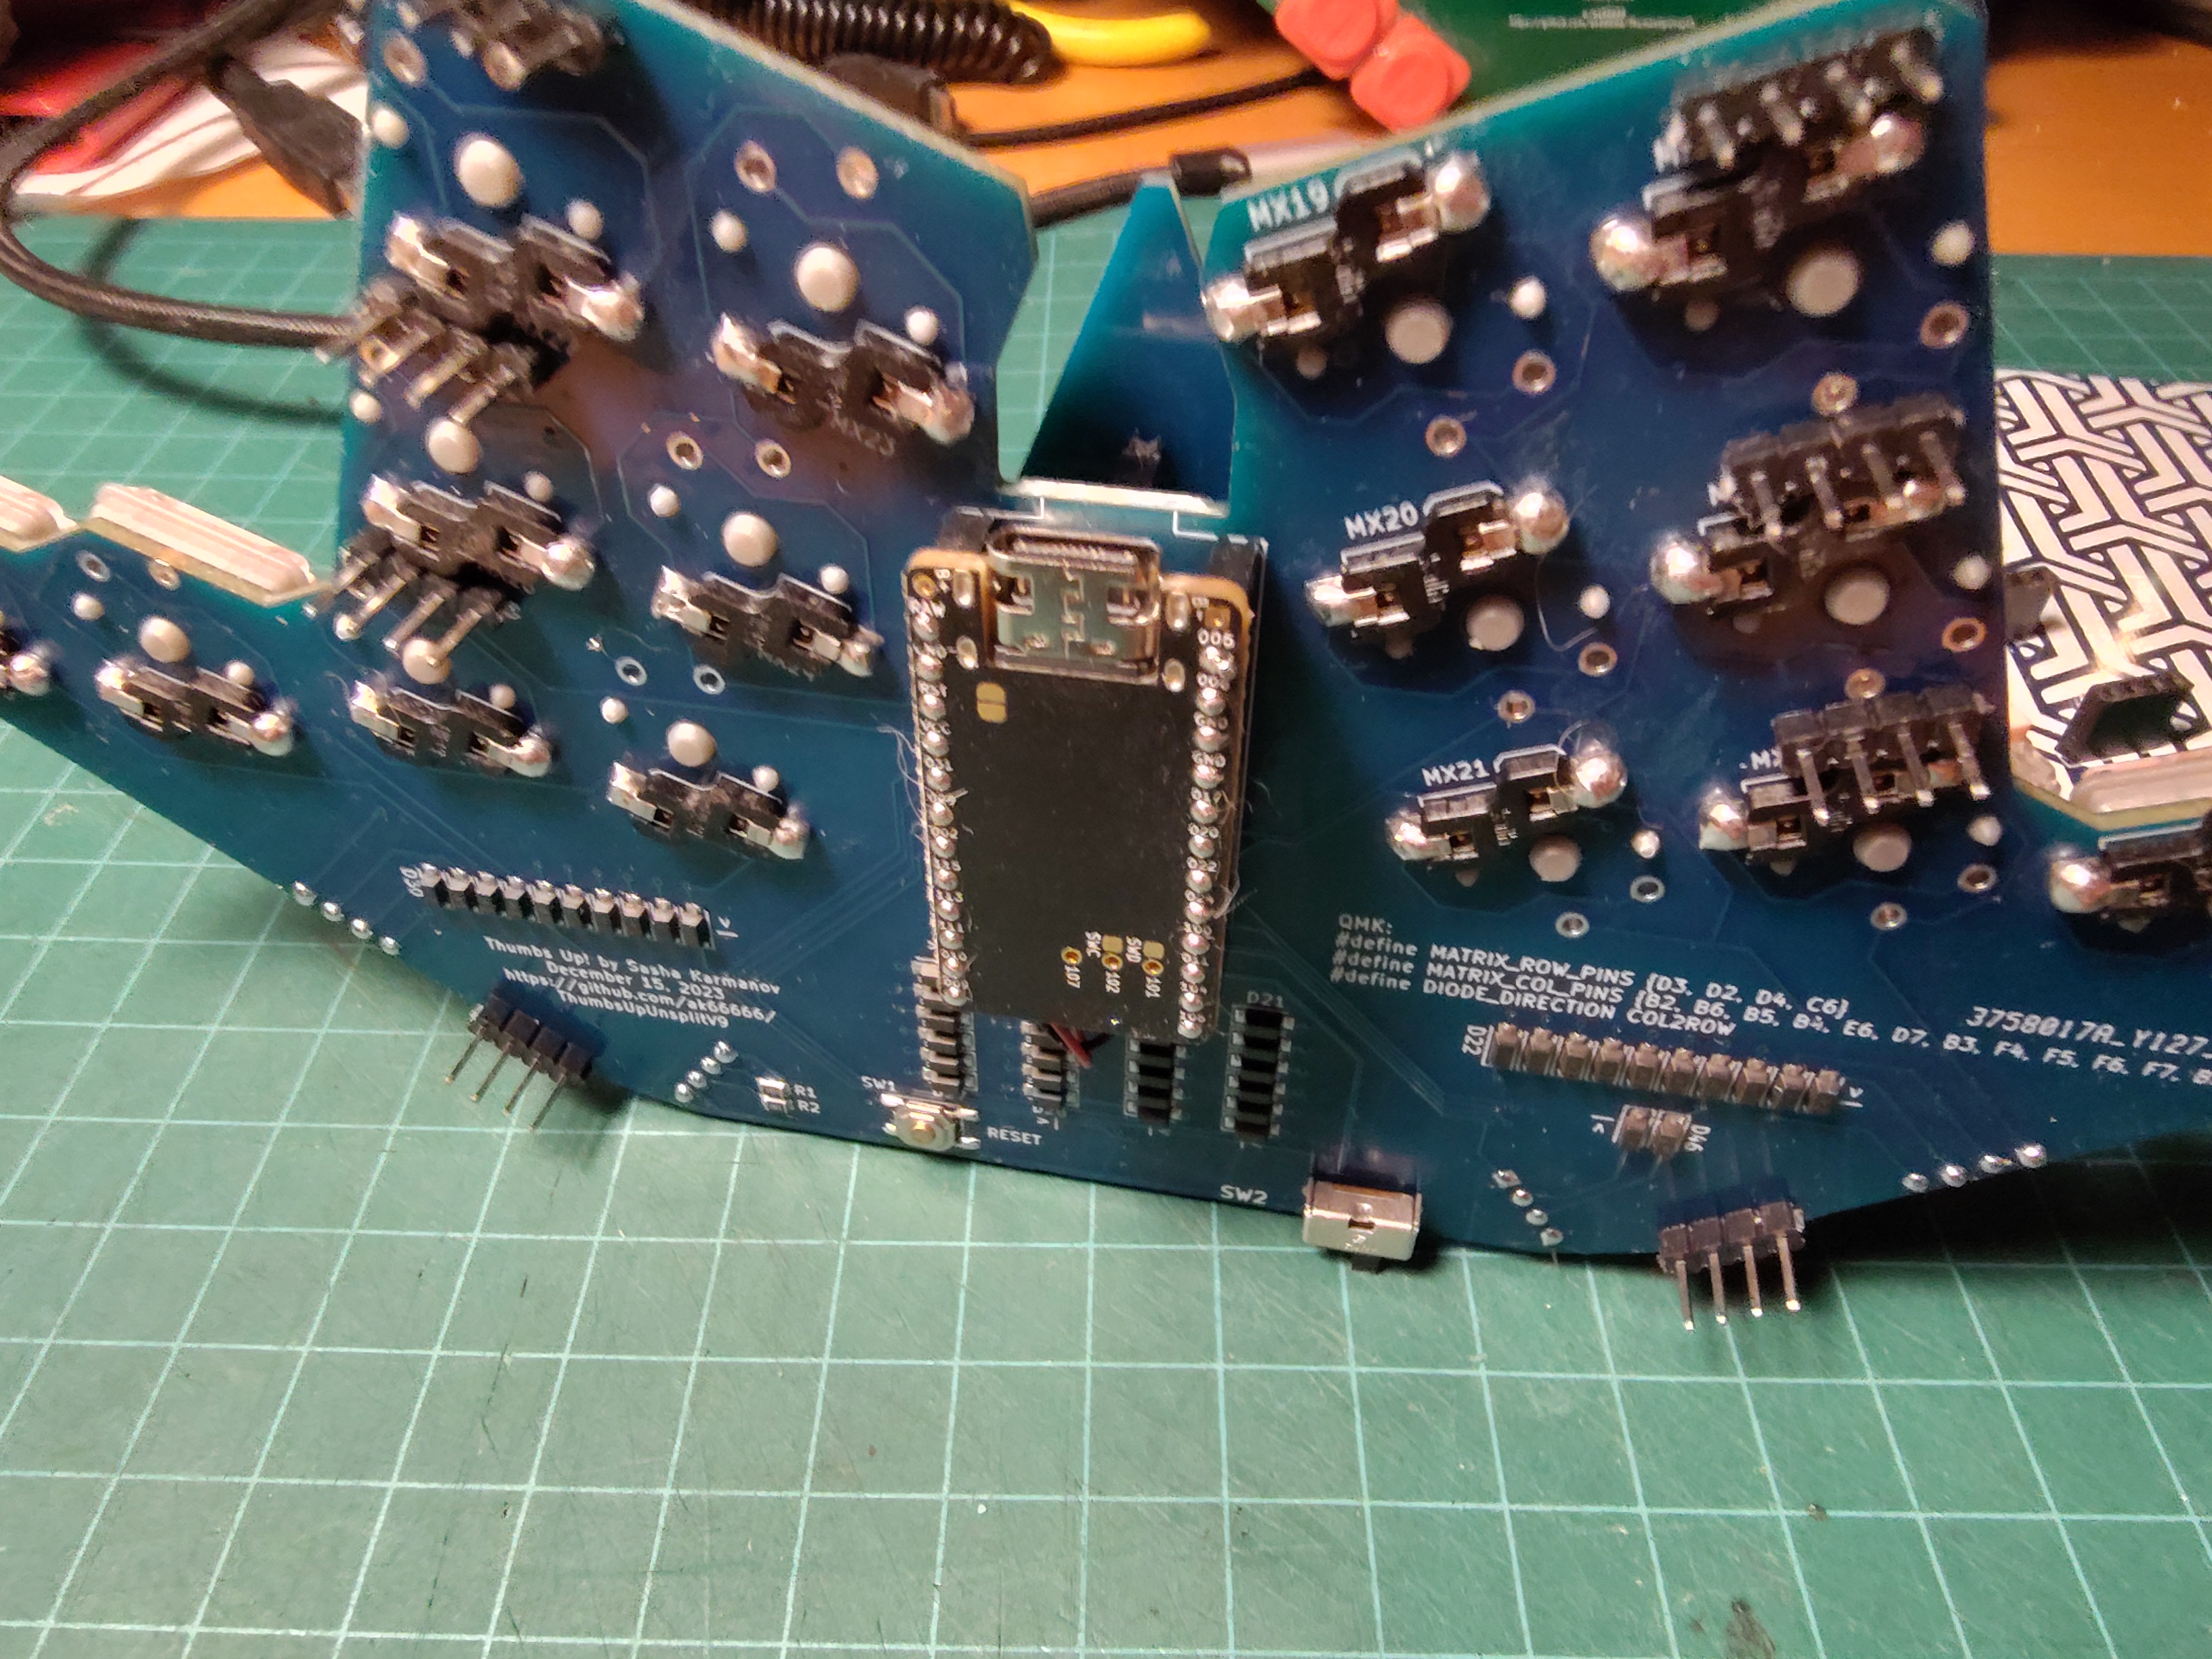
Here is how it looks fully assembled:


These are the parts: nice!nano v2 in the middle, the battery on the left and the pin headers on the right. Also there is a power switch on the PCB - it physically disconnects the battery from MCU/USB.


I use pin headers/sockets to allow MCU swap. The default/standard sockets are too tall, so I have to pull the pins from headers and cut them so they are flush with the board surface. Make sure solder balls are small enough to allow the raisers/connectors to actually connect.
Notice the MCU goes components towards PCB.


Make sure the B+ and B- holes are not used, they are added in nice!nano, but the ProMicro does not have them. There are other pins that connect MCU to battery.


The battery is hidden under MCU. Battery terminals are soldered to the board. There is a power switch visible in other pictures that disconnects the battery from the circuit.


There is plenty of space under MCU, the battery has to be affixed by a double-sided tape, or by a roll of scotch tape - with the sticky side out from both sides. Here it is like it looks like, the battery is suspended between MCU and PCB with two cylinders of scotch tape:


ZMK firmware for nice!nano is provided in the same dropbox folder with other files. Look for thumbsupv9-nice_nano_v2-zmk_20240401215300.uf2

By default firmware supports up to 4 bluetooth profiles, i.e. the board can be switched between 4 devices. Luckily there is a ZMK fork with mouse key support, that is the board can be used to move the mouse pointer and use the mouse buttons in the same way they are used in the QMK-based ThumbsUp! keyboards. Unfortunately there is no Cirque ProGlide touchpad support yet.


UPDATE 20240627: Some of the boards (i.e. all the newer versions v5, v8, v8b, v9) need a power switch installed, it is in the bottom right corner in the picture below.
That switch disconnects the battery from nice!nano. You can order it from Mouser: https://www.mouser.ca/ProductDetail/655-1825232-1

Note that the battery will charge only when the switch is the ON position, towards the center of the board.


UPDATE 20241231: Two updates actually.
1. There is an updated version of ProMicro NRF52840 available on Aliexpress:
https://www.aliexpress.com/item/1005006074191337.html
It is a cheaper replacement nice!nano, fully compatible with it. 
In this updated version they claimed the battery drainage problem (that the first version of this clone suffered from) was resolved.

2. ZMK now (probably for quite long time actually) got mouse keys support.
I prepared a firmware version for ThumbsUp! v9 with that latest version, works fine.


Comments

Popular posts from this blog

Adding a Touchpad

  Updated:   Jun 5 The unibody ThumbsUp! keyboards support ProGlide Cirque touchpads. Cirque touchpad fits nicely under the top PCB and are not visible from outside, so here its picture sticking out, not yet glued to the top PCB:     There are tracks leading to a connector on the top board. (Add it to the order and let me know if you want the connector to be installed, provided I have them in stock.)     You'd need to buy these two parts from Mouser (or any other vendor): Mouser #: Mfr. #: Desc.: 355-TM0400402024-301 TM040040-2024-301 Capacitance Touch Sensor Modules Capacitance Touch Sensor Modules 40mm Round SPI/I2C adhesive overlay 538-15166-0125 15166-0125 FFC / FPC Jumper Cables FFC / FPC Jumper Cables FFC 0.50 Type A 12 ckts lgt 127   Touchpads need to be modified: R1 needs to be removed to use I2C the boards support:   For the ProMicro and Atmel32U4-based keyboards the touchpad also needs to be made t...

ThumbsUp! Trackball v3 Assembly Steps

I designed a trackball: https://github.com/ak66666/ThumbsUp-Trackball-v3 I sell the PCBs on Etsy: https://www.etsy.com/ca/listing/4367668734/thumbsup-trackball-v3-pcbs-for-dyi In this post I show the process of building the board. Bill of Materials To assemble you will need to obtain the following parts: 1x PMW3610 sensor and lens (https://www.aliexpress.com/item/1005007118767775.html) 1x Nice!nano v2 (or clone) (https://www.aliexpress.com/item/1005006074191337.html) This will give you a Bluetooth-connected device. You may add another nice!nano to make a USB dongle . 1x 34mm ball (https://www.aliexpress.com/item/1005007857787050.html) 1x 3.7V 110mAh 301230 Lithium Polymer Li-Po Battery (https://www.aliexpress.com/item/1005003662352305.html) 6x Kailh Choc hot-swap sockets (https://www.aliexpress.com/item/1005003873653184.html) Optional, you may solder the switches into the board. 2x Pin Headers and 2x Sockets, Low profile, 12pin (https://www.aliexpress.com/item/1005006248653180...

How to make a wireless ThumbsUp! with a touchpad using ZMK and ProGlide Cirque

ThumbsUp! can be made wireless using a nice!nano v2 MCU (or its clone) running ZMK. Recently ZMK got support for ProGlide Cirque touchpads, and the biggest difference from QMK was requirement to have an activity pin (DR) to be used/specified in the configuration. My configuration project is here: https://github.com/ak66666/zmk-config/tree/cirque Unfortunately that requirement was not known to me when I designed ThumbsUp! boards, so in order to make these boards wireless and with touchpad I had to add a bodge wire from the touchpad to a inter-PCB connector, and then from the connector on the other plate to the controller. Luckily there were a few unused pins in v9, so the task turned to be relatively easy. Step 1. Solder the wire to the third pin from the top on the innermost row: Step 2. Solder the other end of that wire to one of the pins in the center header. For that - gently pry the plastic spacer a up halfway, and solder the wire as close to the board as possible. I chose the bott...